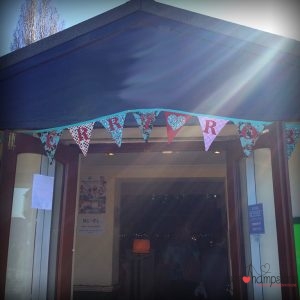
I love bunting.
To me, nothing says celebration, fun or party quite like bunting. Historically bunting was used as a communication tool and I think it’s still used this way now. You know when you see bunting that a party is nearby. One of the things I love about bunting is its versatility. Bunting is a wonderful beginner project that requires basic skills.
The fabrics, patterns, finish and top binding all work to create different but such pretty effects. Maybe I’m romanticising it but I adore how sheer fabrics dance in the breeze or how bohemian bunting flags cut with pinking shears look.
Literally anything goes with bunting!
When making bulk loads (the most I’ve ever made was 100m for a friends wedding), I don’t tend to sew the individual flags together but go for a pinking sheer finish with the flags attached at the top with the bias. I prefer to finish my bunting with bias binding rather than ribbon. As a general rule I prefer to look of ribbon but I like the clean finish bias binding offers and the way it hides the top seam. Play with the size of your flag triangles and the gaps between the flags to work out the best fit for the space you’re hoping to decorate. The amount of bias I leave on the ends for tying depends on where the garlands will be hung. Between .5 – 1m should be plenty.
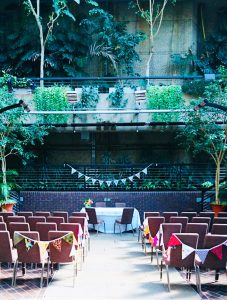
The only thing better than general bunting is personalised bunting. Personalised bunting doesn’t have to necessarily mean lettering, it can be personalised by the fabrics you’ve chosen. For my wedding I invited our guests to donate fabric to be made into our bunting. I was blown away by how many people got involved and the memories that were associated with some of the fabric they shared. We lined the aisle with the bunting that represented our family and friends. It was really fun through the day seeing people take photos with ‘their flags’, the mix of colours and patterns was stunning and it was so personal. Because I’m a bunting junky we also had personalised bunting with our names in the background during the ceremony….oh, and there was the bunting with our initials on it across the bar…..and the ‘Mr & Mrs’ that decorated the cake table…. it’s fair to say, I went mental with the bunting at our wedding!
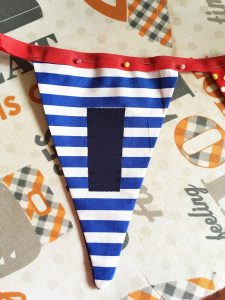
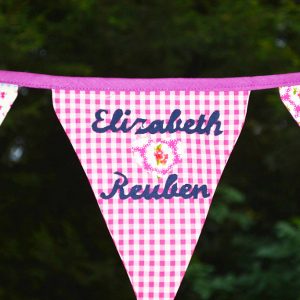
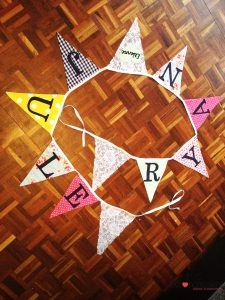
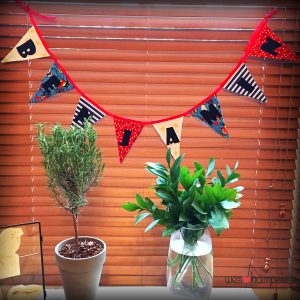
I’ve made several garlands of personalised bunting for friend’s weddings, anniversaries, their kids and the latest garland which prompted this blog is for our nephew’s christening. Benjamin’s bunting is made to match the quilt I made him for Christmas and is double sided. I’ve not made double sided bunting before but I definitely will again, it’s super cute having the two different looks. Another touch I’ve added to bunting for weddings/anniversaries for friends with children is to add their names in the middle flag.
Benjamin’s flags are 17cm x 17 cm with a 5cm gap between flags. Playing around on the computer to select a font that I think compliments the fabric and the right size for the flag, I cut the letters out of fabric I’d backed with a double-sided iron-on adhesive (like bondaweb) – a basic technique for applique. Ironing the double-sided adhesive to the fabric is essential as it, along with sharp scissors, will help keep the fabric lettering from fraying. Don’t forget to pay attention to make sure your letter/fabric are facing the right direction.
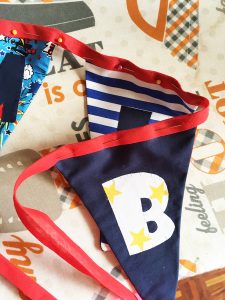
Peel off the paper backing from the iron-on adhesive and iron down the lettering to your pre-cut flags. At this point I like to basically stitch the letters down. This bit takes a bit of time but I think it’s worth it. You can finish it however you like but I think personalised bunting looks best sewn together and turned out the right way. I like the crisp and clean finish. After tucking your flags into bias, a quick zip of stitching across the top to attach the flags to the bias and you’re done!
Here is a little montage of the various ones I’ve done for inspiration.
Leave a Reply